How I make every Taylor Leather piece
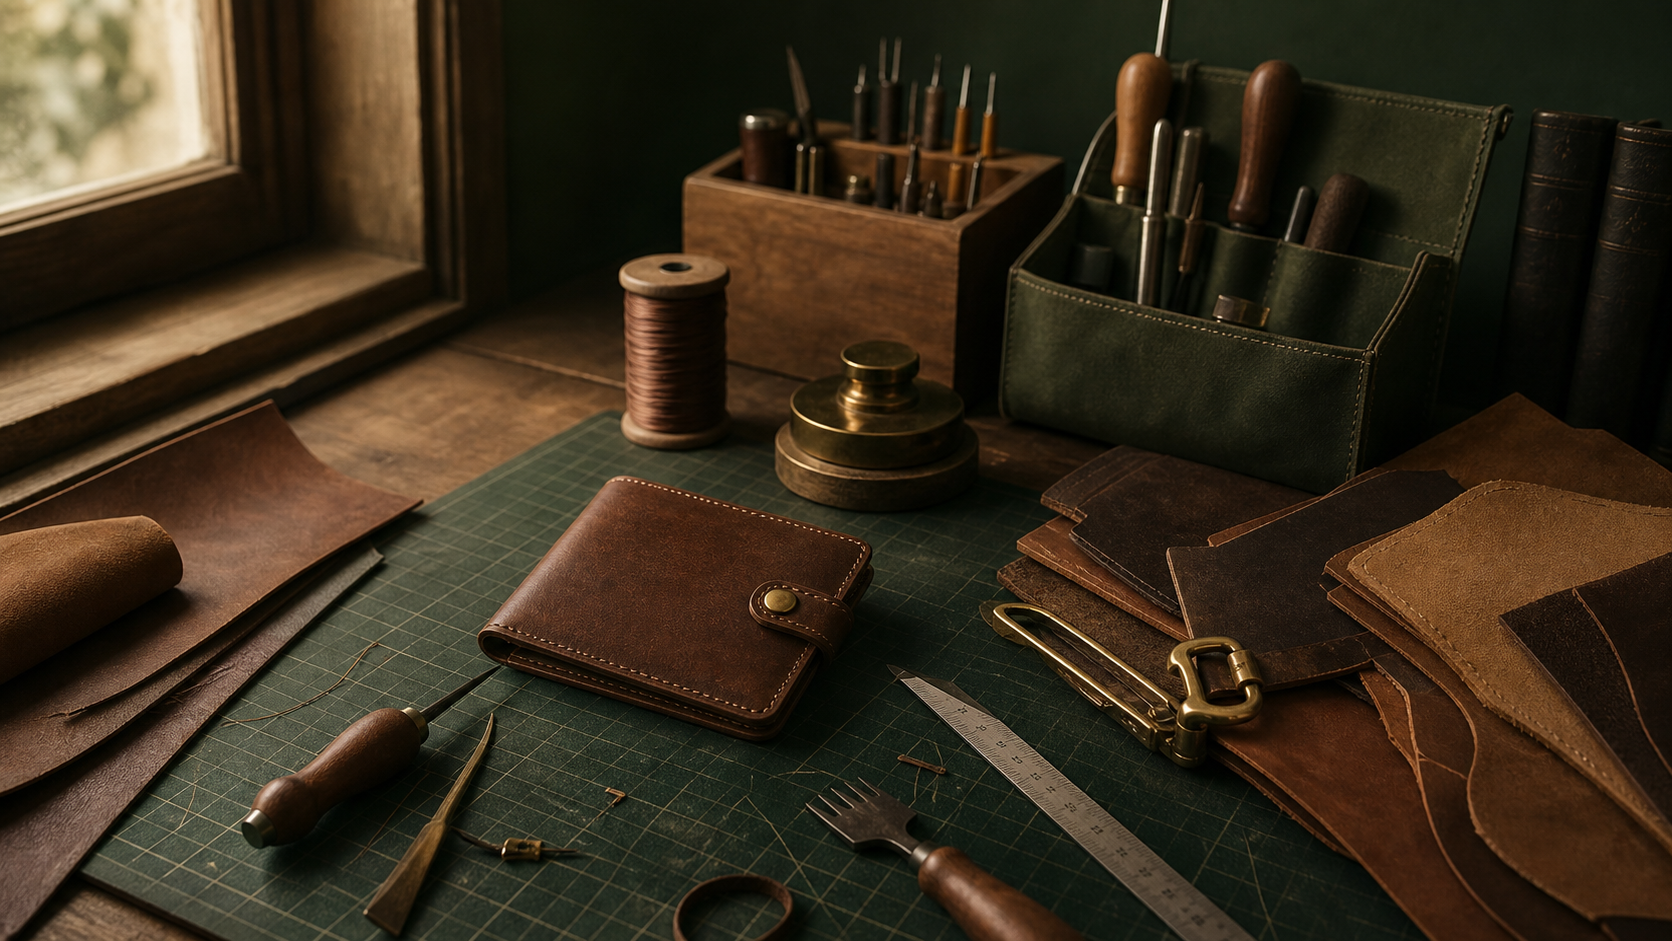
Every order goes through ten steps before it leaves the workshop. None are automated. None get skipped. Some of these add hours that don't show up at first glance — the bevel and burnish on the edges, the way the stitch holes get marked — but they're what separates a piece that lasts six months from one that lasts a decade.
1. Pattern review
Before any leather is cut, I review your order against the pattern. If there's a customization — monogram, size, hardware finish — I confirm it against what you submitted. For made-to-measure items like belts, I email you back with a measurement check before I cut anything. I'd rather slow down a day than mis-cut a hide.
2. Hide selection
I pull a hide from the rack and check the grain under daylight. Some hides have brand marks, fly bites, or thin spots. I cut around them. The strongest grain — the back of the hide near the spine — gets used for the parts that take the most wear: belt straps, wallet folds, card slots.
3. Pattern transfer
I trace the pattern onto the leather with a silver pencil. For wallets and card holders I work from a pattern I drafted years ago and refined dozens of times since. For made-to-measure belts I draft a fresh pattern against your measurements every time.
4. Cutting
Straight cuts with a head knife. Curves with a swivel knife. Round corners with a punch. I sharpen the head knife on a strop before every job. A dull knife crushes leather instead of cutting it, and you can see the difference in the finished edge.
5. Edge bevel and sand
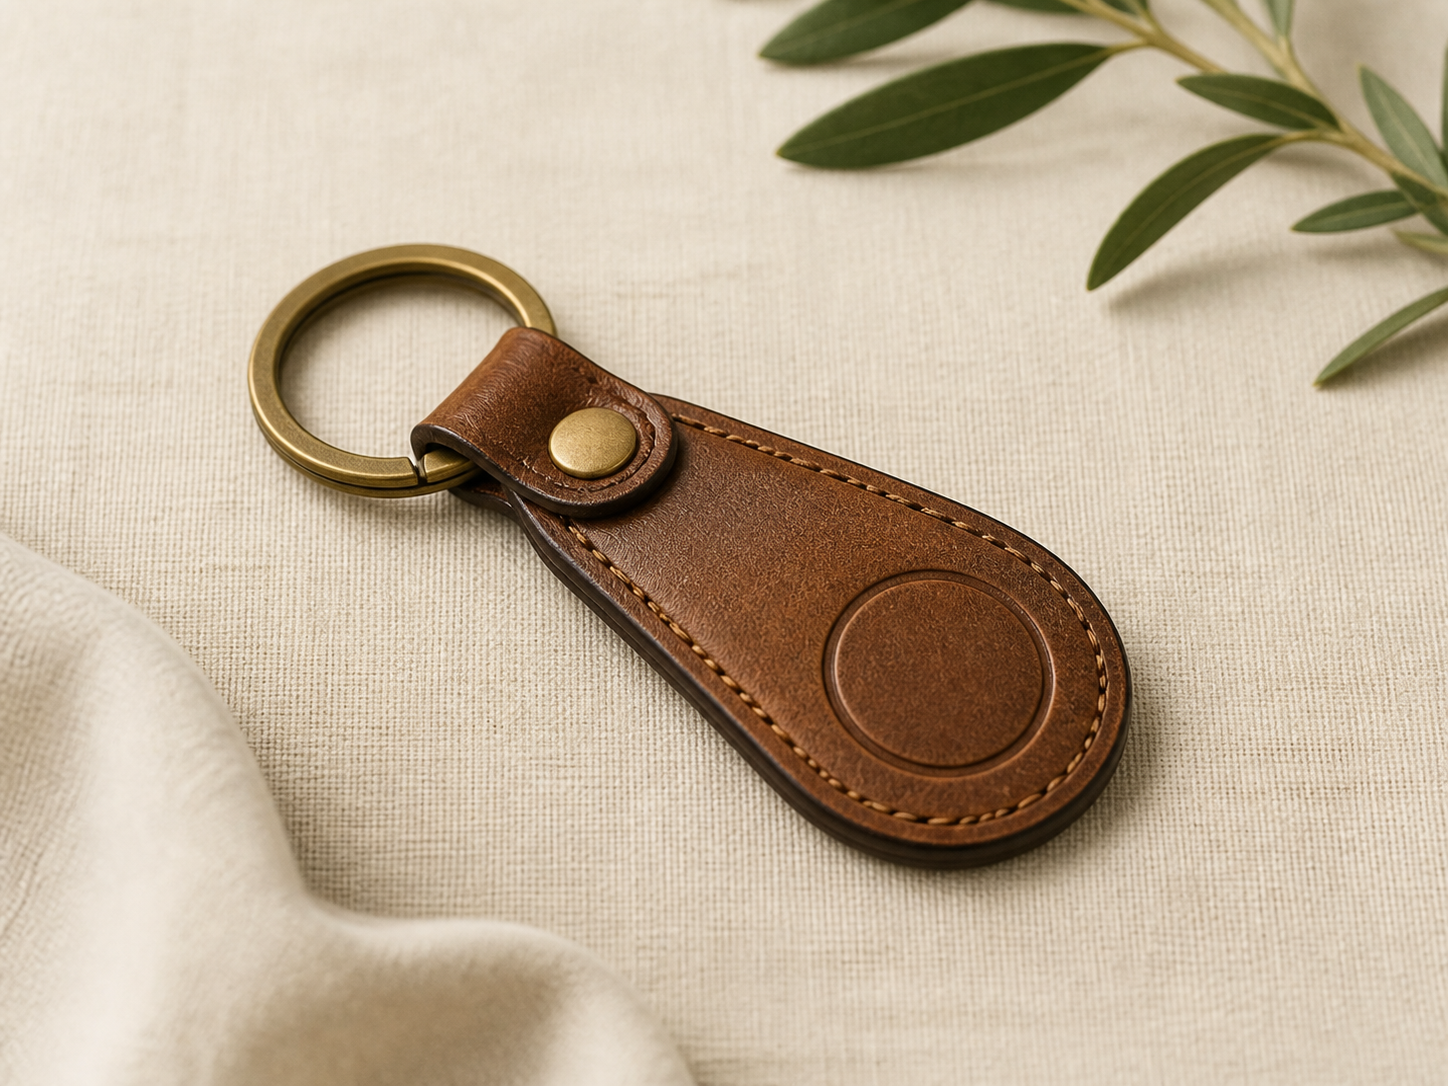
Every cut edge gets beveled on both sides with a #1 or #2 edger. Then sanded with 220, 400, and 800 grit. This is the step factory-made leather skips. It's the difference between a sharp edge that cracks and a smooth one that ages into the leather.
6. Stitch line marking
I run a pricking iron along the stitch line — 7 stitches per inch on small goods, 5 per inch on belts. Each iron tooth is set at a slight angle, which is why saddle-stitched leather has that distinctive slanted look. Machine stitching can't replicate it.
7. Saddle stitching
Two needles, one waxed thread, hand-pulled through each hole. Saddle stitching is the slowest part of any piece — 30 to 60 minutes for a wallet, 90+ for a belt — and it's why hand-stitched leather lasts. If a machine stitch breaks, the whole row unravels. Saddle-stitched holes hold even when one stitch fails. I use Ritza Tiger thread, waxed in beeswax.
8. Edge burnishing
The alchemy step. I wet the cut edge with water and a touch of gum tragacanth, then burnish it with a hardwood slicker under firm pressure. Done right, the edge goes from rough fiber to a glassy, sealed finish. Done wrong, it stays fuzzy. I burnish each edge in three to four passes.
9. Conditioning
A light coat of saddle soap, then a thin layer of Aussie leather conditioner. Just enough to feed the fibers without darkening the leather. Veg-tanned leather will deepen and patina over months of use — I want yours to start lighter so you get to watch that happen.
10. Inspection and packaging
Every piece gets checked under daylight: stitch evenness, edge finish, hardware seating, alignment, color consistency. If something isn't right I fix it. Once it passes, I wrap it in unbleached cotton, slide it into a kraft box, and write a short note with the build date.
---
That's the whole process. About 4 to 12 hours of work per piece depending on size and customization. It's not the fastest way to make leather goods. It's the way I think makes the best ones.
If you want to see any of these steps in person, I do shop visits by appointment. Email me at hello@taylorleather.example (placeholder until live) and I'll set something up.
— Taylor